
Latest news and foot health articles

Children’s Heel Pain Clinic Geelong: Expert Management at Total Care Podiatry
Read MoreChildren’s Heel Pain Treatment: Helping Active Kids Stay on Their Feet Heel pain is one of the most common foot complaints seen in active children and teenagers. At Total Care Podiatry, we regularly provide children’s heel pain treatment for young...
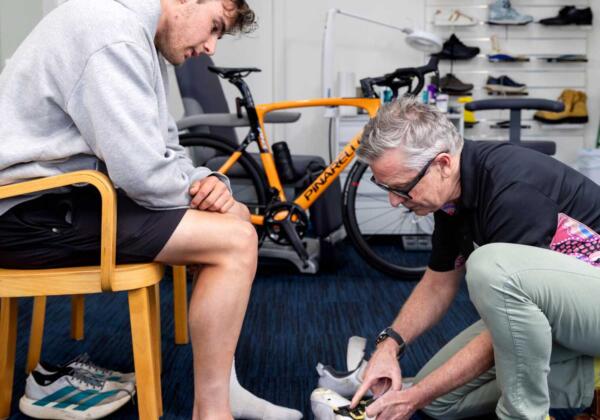
Sports Podiatry Geelong: Expert Injury Care and Performance Treatment at Total Care Podiatry
Read MoreSport places significant demands on your feet and lower limbs. Whether you’re running, playing football, training for a triathlon, or hiking long distances, repetitive stress can lead to injury and reduced performance. At Total Care Podiatry, we provide expert sports...

Christmas holidays clinic closure 2025
Read MoreAs we approach the end of another busy year, the team at Total Care Podiatry would like to wish all our wonderful clients a happy, safe and relaxing festive season. Our clinic will be taking a short break over Christmas,...

Christmas 2024 holiday closures
Read MoreAs the festive season approaches, the team at Total Care Podiatry would like to wish all our valued clients a joyful and safe Christmas and New Year. To give our team a well-deserved break, our clinic will be closed from...

Melbourne Cup Day clinic closure 2024
Read MoreTotal Care Podiatry will be taking a short break with the clinic closed from Monday 4th November, Melbourne Cup Day Tuesday 5th November and reopening on Friday 8th November. Our team are taking a short break before the Xmas rush...
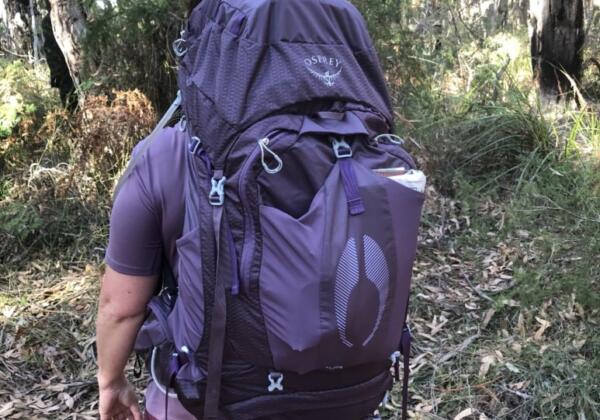
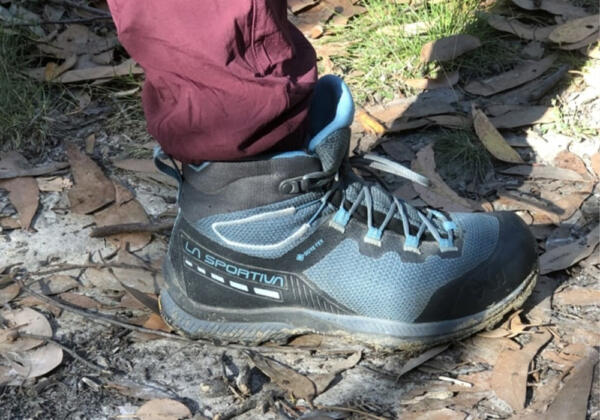
Expert podiatrist tips for hikers: prevent foot pain and stay trail-ready
Read MoreAt Total Care Podiatry we have a passion for hiking, we understand the unique challenges hikers face when it comes to foot health. The demands of rugged terrain, long distances, and varied weather conditions can take a toll on your...
Can orthotics help foot pain?
Read MoreStruggling with foot pain? Orthotics might be your solution. A study published in *The Journal of Foot and Ankle Research* found that custom orthotics significantly reduce foot pain and improve function in individuals with various conditions, including plantar fasciitis and...
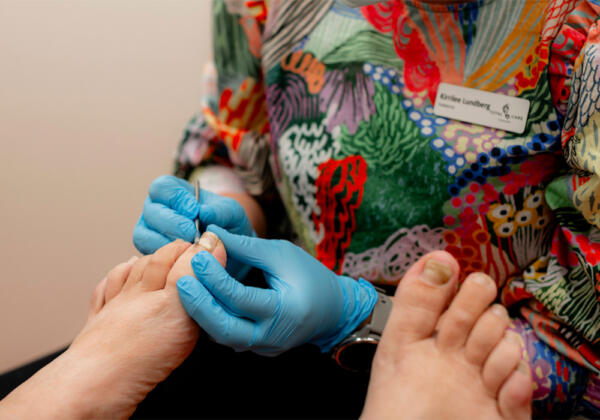
Onyfix nail bracing
Read MoreAre you tired of dealing with painful ingrown toenails or persistent nail issues? Onyfix is here to revolutionise your nail care routine! Onyfix is an innovative nail correction system designed to gently and effectively address common nail problems, including ingrown...
Effective treatment for plantar fasciitis in Geelong
Read MorePlantar fasciitis could be the culprit. This condition involves inflammation of a thick band of tissue running from your heel to your toes. It often causes sharp pain, especially in the morning or after periods of inactivity. The cause of...
Heel pain – the causes
Read MoreStudies have indicated up to the 12% of the population will suffer from heel pain throughout their lives. The causes of heel pain can be plantar fasciitis, heel spur, bursitis, fat pad contusion, plantar fascial tear, tendinopathy, stress fracture or...